Showing posts with label stripes. Show all posts

Stripey Palm Trees!

I think I saw a design similar to this while browsing the world wide web, but can't remember where! (If anyone has any idea, let me know so I can give credit where it's due!) I wanted to use the palm tree image from Konad M29 again, and started with a base of coloured stripes, painted over white to make them "pop". If you want to know what any of the colours are, just ask in the comments!

I added the stripes using Claire's Black Nail Art Pen, and stamped the palm trees using Konad Black Special Polish:


Let me know what you think guys! We also have a lodger this week, he is very hairy and smelly and MENTAL. But we love him.
Jack, our temporary mutt. (Or Jacqueline, when he's naughty. Which is ALL THE TIME.)

xxxx

Nails Inc Mix and Match - Girly Turquoise Skittles

I think I must be on a turquoise kick! I won a years supply of Nails Inc polishes by entering the Tiger Mani into InStyle Magazine's Nail Art contest, and Haymarket - the polish I used today - was one of twelve that were sent as a prize! (Not quite a years supply for me, but it's still a great prize haha!)

I started with two coats of Haymarket, a muted, dusky turquoise - more blue-toned than green. You can't beat Nails Inc on quality, you get what you pay for, as these retail at £11 a pop - not something I can usually afford!


I added a different design to each nail, aside from the polka dots, which were added using Konad plate M79 with Konad White Special Polish, I used a paint brush for the details.


The pink polish on the accent nail bow, index and thumb is Collection 2000 Candy Floss, the silver is a Claire' Nail Art Pen and the white is Natural Collection from Boots.

Clearly a design for when you can't make your mind up! I quite like that it's all mixed up,it's very girly, all that's missing is hello kitty - as my mum said.

I promise I will get back to posting more regularly!

xxxx

Tiger Nails - Tutorial!

Well, my exams are finally over! Wooooohooooo!!!! Back to regular posts! I promised I'd be back on form with the nail art, with a bang, so today I've got a tutorial for you, for FIERCE tiger nails!


This looks complicated, but its really very easy when you break it down into steps! For the base of the tiger print design, I used the sponging technique to make a colour gradient. The only piece of equipment you will need for this, is a piece of sponge, I use the corner of a kitchen scrubber:


Select 3 polishes in "tiger" colours -  I am using Nails Inc Candy Orange , Essence Show Your Feet in Juicy Orange, and Miss Sporty Taxi:


I started with the middle shade, Candy Orange, and sponged on the darker shade, Juicy Orange, onto differing areas of the nail. It works best if you dab a small amount of polish onto the sponge, and lightly build up the sponged area, adding a little bit at a time. I then did the same with the yellow, Taxi, and these are the results:


After cleaning up the cuticles with a cotton bud and nail polish remover:

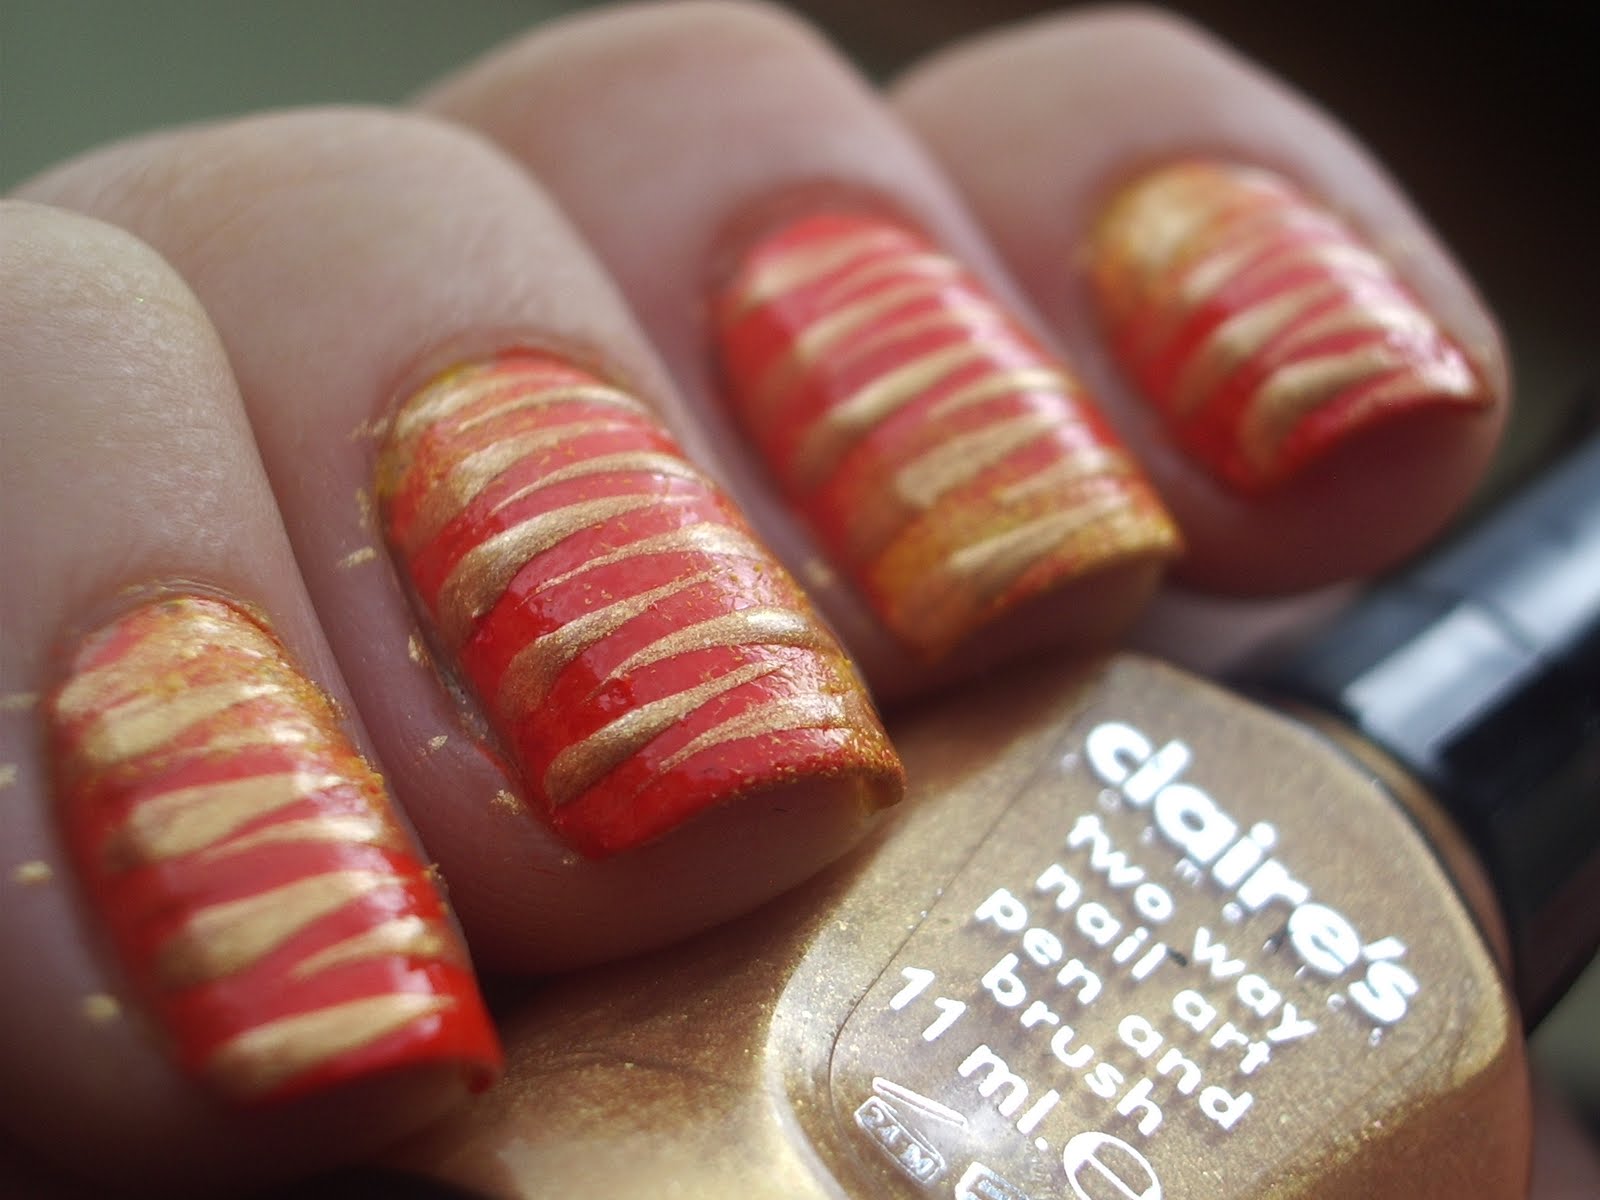
Next comes the stripes, I did two sets of stripes in black and gold, but you could just do the black if you wanted. I used Claire's Nail Art Pens in Black and Gold (the striping brushes inside), but you could easily use a striping brush or regular brush and polish if you don't have pens:


get a small bead of polish on the end of the brush, and starting at the nail edge, draw horizontal stripes that don't touch, but interlock to make the tiger print, zig zag pattern. It works best if you almost flick the striper towards the centre of the nail, as it makes a neat, tapered point. Start with the Gold stripes.


Once it's dry, you can go back with the Black striper, almost exactly on top of your gold stripes:


Add a coat of Seche Vite or your favourite topcoat, and you're done! I added the tiger face as an accent on the ring finger. Take an eyeshadow applicator (as the sponge is smaller and denser!) and add a small amount of white polish. Dab on the orange base like so:


Next, take a green, pink, grey and brown polish . with a dotting tool or brush, add two green dots to the bottom of your white sponged eye areas, and with the pink polish, draw a 'T' shape towards the nail edge. Contour the tiger's nose with two fine lines in brown polish. I added some grey whiskers with a fine brush.


All that's left to add is the black details, for which I used Claire's Black Nail Art Pen. Add your topcoat. You're all finished! Longest. Tutorial. Ever! Rest your tired eyes.


I hope you like them! Let me know what you think! Will you be trying it?

xxx

*EDIT* Because this post took BLOOMIN' AGES, I completely forgot to mention the reason I did this manicure in the first place! I knew Swaffie Blog was having an "inspired" competition, and I really wanted to enter. I was watching a documentary on endangered species, and decided to let the segment on Bengal Tigers be my inspiration! Here is the link to the competition, you can vote for me if you want my love and affection forever and ever and ever, I would really appreciate it :D:D. I am entry number 3! There are some fantastic entries, and you can vote for your favourite three, which I think is a great way of doing it, giving everyone a fair chance! :D


Nauti-cool nails

...Yes, I'm just THAT pun-tastic. I don't know why I'm loving nautical this week, but here's another super-sailor manicure done with mostly Bloom Polishes - only managed one good picture:


Didn't come out terribly neat, I think I had a clog in my Claire's Black Nail Art Pen but I was too lazy to jog upstairs and poke a pin in it.
I didn't want a bright white, so did a base layer of Nails Inc Caramel, followed by two coats of Bloom's Nicole - looove this polish, it's a muted cream - goes on really nicely and dries shiny shiny. Good for both an opaque look or a frenchie.


 I then added some red stripes with a stiping brush, using Barry M Red, and added a coat of Seche Vite.


Ha horizontal stripes make you look fat. When it was completely dry, I taped off the nails diagonally, and added two coats of Bloom's The Cassette Society 1. My original plan was to stamp the anchor image from one of the Bundle Monster Image Plates, but my nails are too little at the moment and it was too large, so I resigned myself to free-handing them in using Bloom's Goldie and Barry M Mushroom.
I used Barry M mushroom and some yellow acrylic paint (which was a bit of a gloopy disaster) to make the rope, first as a stripe, then adding the detail with Claire's Black Nail Art Pen. LAVLY.

I hope you like it! Let me know what you think! Is it a look you would wear?

Also, I found an old sketch book today, and this little guy was cotching in it. I must've been fourteen when I drew this. I forgot I could draw, how weird is that?! I freakin' LOVE crayons. Like a lot. Too much.

oh heeeeeey

I can smell a frog Manicure. It smells of old leaves and awesomeness.

:D

Blog Archive