Showing posts with label Essence. Show all posts

Tiger Nails - Tutorial!

Well, my exams are finally over! Wooooohooooo!!!! Back to regular posts! I promised I'd be back on form with the nail art, with a bang, so today I've got a tutorial for you, for FIERCE tiger nails!


This looks complicated, but its really very easy when you break it down into steps! For the base of the tiger print design, I used the sponging technique to make a colour gradient. The only piece of equipment you will need for this, is a piece of sponge, I use the corner of a kitchen scrubber:


Select 3 polishes in "tiger" colours -  I am using Nails Inc Candy Orange , Essence Show Your Feet in Juicy Orange, and Miss Sporty Taxi:


I started with the middle shade, Candy Orange, and sponged on the darker shade, Juicy Orange, onto differing areas of the nail. It works best if you dab a small amount of polish onto the sponge, and lightly build up the sponged area, adding a little bit at a time. I then did the same with the yellow, Taxi, and these are the results:


After cleaning up the cuticles with a cotton bud and nail polish remover:

Next comes the stripes, I did two sets of stripes in black and gold, but you could just do the black if you wanted. I used Claire's Nail Art Pens in Black and Gold (the striping brushes inside), but you could easily use a striping brush or regular brush and polish if you don't have pens:


get a small bead of polish on the end of the brush, and starting at the nail edge, draw horizontal stripes that don't touch, but interlock to make the tiger print, zig zag pattern. It works best if you almost flick the striper towards the centre of the nail, as it makes a neat, tapered point. Start with the Gold stripes.

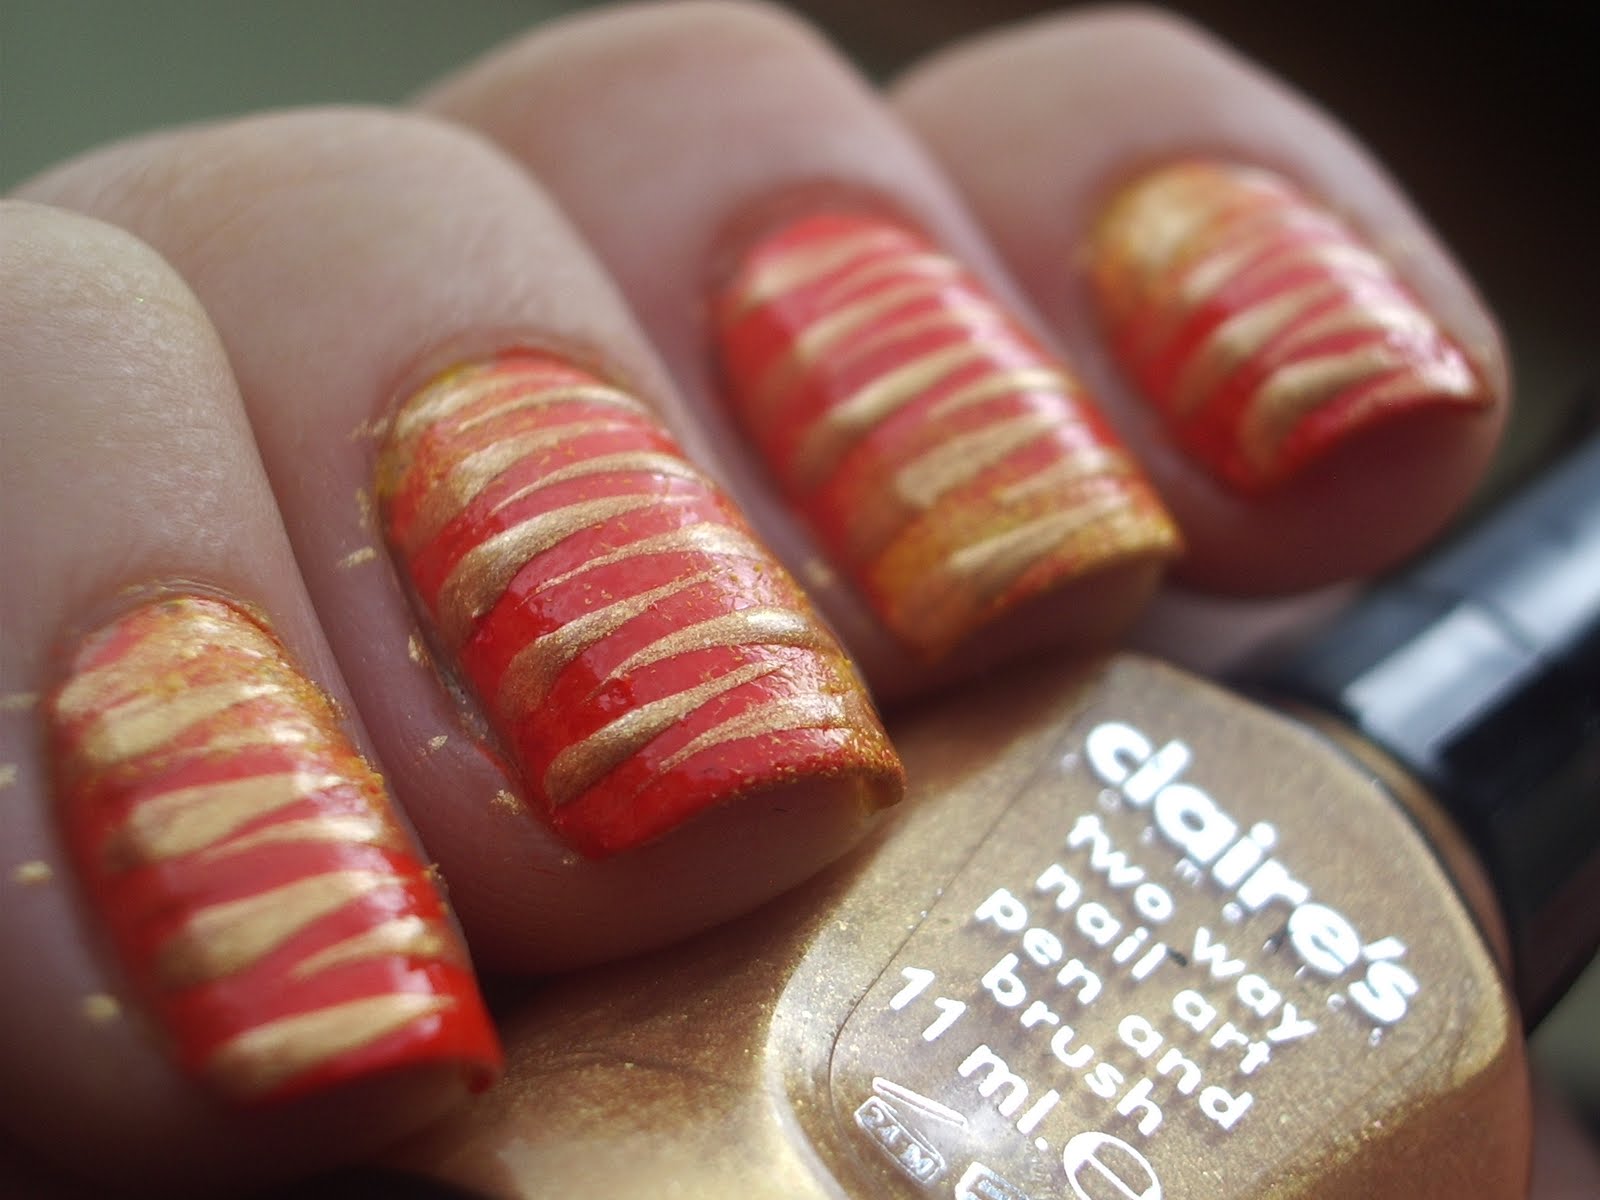

Once it's dry, you can go back with the Black striper, almost exactly on top of your gold stripes:


Add a coat of Seche Vite or your favourite topcoat, and you're done! I added the tiger face as an accent on the ring finger. Take an eyeshadow applicator (as the sponge is smaller and denser!) and add a small amount of white polish. Dab on the orange base like so:


Next, take a green, pink, grey and brown polish . with a dotting tool or brush, add two green dots to the bottom of your white sponged eye areas, and with the pink polish, draw a 'T' shape towards the nail edge. Contour the tiger's nose with two fine lines in brown polish. I added some grey whiskers with a fine brush.


All that's left to add is the black details, for which I used Claire's Black Nail Art Pen. Add your topcoat. You're all finished! Longest. Tutorial. Ever! Rest your tired eyes.


I hope you like them! Let me know what you think! Will you be trying it?

xxx

*EDIT* Because this post took BLOOMIN' AGES, I completely forgot to mention the reason I did this manicure in the first place! I knew Swaffie Blog was having an "inspired" competition, and I really wanted to enter. I was watching a documentary on endangered species, and decided to let the segment on Bengal Tigers be my inspiration! Here is the link to the competition, you can vote for me if you want my love and affection forever and ever and ever, I would really appreciate it :D:D. I am entry number 3! There are some fantastic entries, and you can vote for your favourite three, which I think is a great way of doing it, giving everyone a fair chance! :D


Love and stilettos

Hello ladies,

Today I have a look that is romantic, gilded and sexy. The design makes me think of love and stilettos. My boyfriend greatly appreciated this manicure for both appearance and concept.

I began with Hard Candy's The End, a basic black creme. Bright pink rhinestone hearts from Essence were centered on each tip. I brushed Sugar Daddy starting from the outer edge of the cuticle, alongside the nail and ended just above the sparkling heart. I repeated this movement on the opposite side with Hypnotic, which culminated in a subtle crisscross of metallic pink and gold.


It's easiest to view the pink overlapping the gold in the cropped photo above.


The manicure coordinates well with a statue of Bast, the ancient Egyptian cat Goddess. My owl ring pays homage.

The End is a great basic black if you are needing a bottle for your collection. It is opaque in two coats and applied cleanly. Hypnotic and Sugar Daddy are fantastic layering notes. They each pair boldly with black and create a subtle glow on the nail when worn singly.

Hard Candy Hypnotic, Sugar Daddy and The End were sent to me for review. To explore the entire Hard Candy range of cosmetics and nail polishes, visit hardcandy.com. Walmart retail locations and walmart.com stock Hard Candy for purchase. For a chance to win all 16 polishes in the Hard Candy Just Nails line, stop by the contest post to enter.

Happy painting, ladies!

Purple and Chocolate

Hello ladies,

I love how shimmer awakens in the April sun. I have been taking a respite from Spring pastels and delighting in sparkle. As much as I love deeper shades in winter, full sun can give them amazing vitality. I've always appreciated the combination of chocolate and purple when I have seen it featured in home design magazines. I enjoy the pairing on my nails as well.

I was thinking about the flowers emerging from the earth as I put together this look. I chose Nubar Chocolate Coffee Bean and accented the polish with crystal teardrops from Essence. The rhinestones appear more fuschia when away from purple iris flowers. The shape of the gems reminds me of petals.


My owl ring makes another appearance.


Bleeding heart vine. How exquisite!

I am in love with the fuschia shimmer swirled into the brown polish. Chocolate Coffee Bean was opaque and sparkling in two coats. Perfect!

This shade was sent to me for review. Chocolate Coffee Bean and the rest of the Chocolate Truffles Collection are available for purchase at bynubar.com.

Happy painting, ladies!

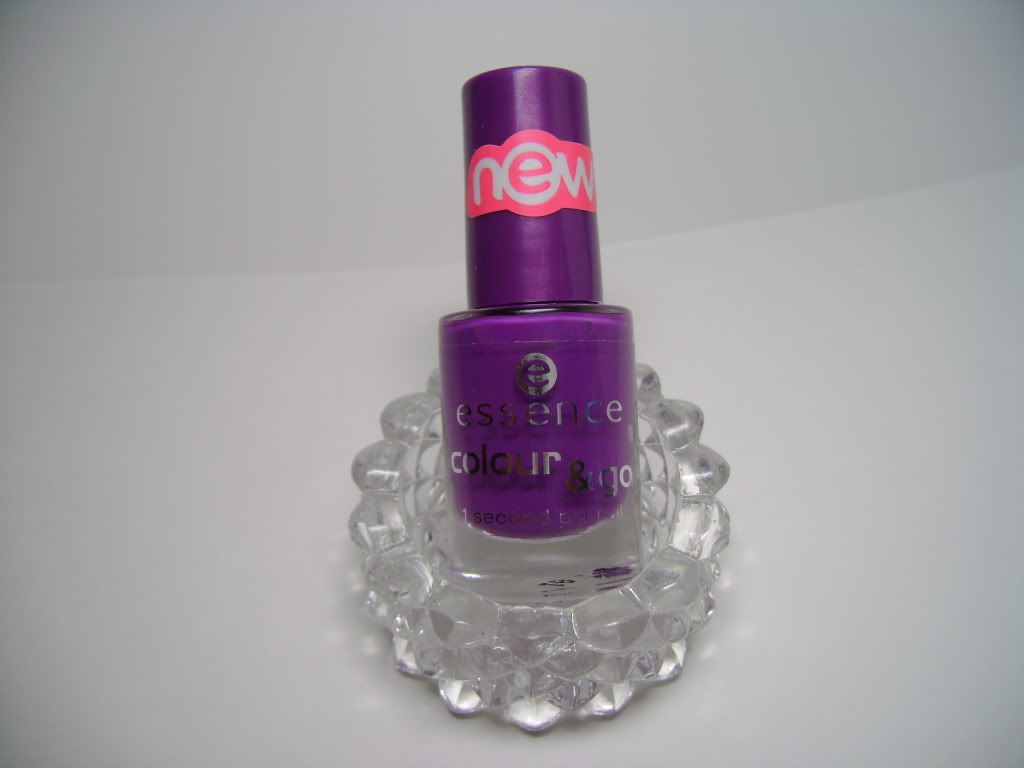
Essence Colour & Go-Break Through

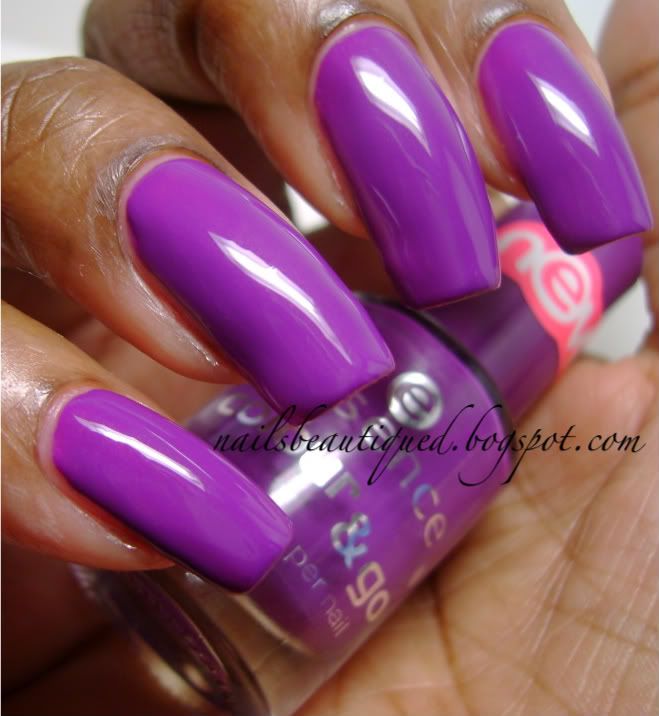
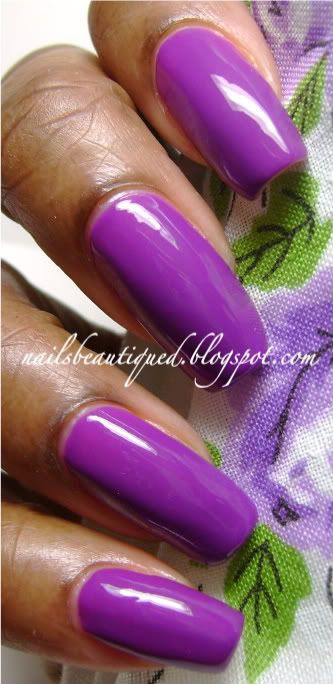
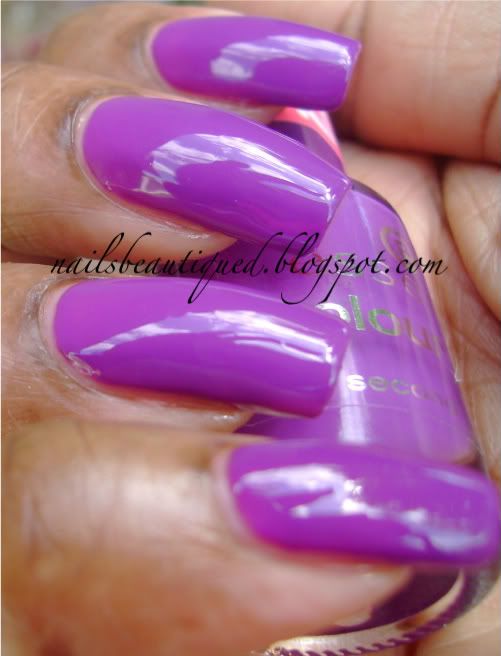
It's spring time and I just love the colors of purples and lilacs it's my Daughters favorite color.  What I have today is Essence Break Through a mid-tone purple cream.  These little polishes are found at Ulta and they are very affordable $1.00 that's right $1.00 ya'll!  They are tiny only 0.16 fl oz but not mini's.  I love the formula and it has that wonderful pro-wide brush that I adore, opaque in 2 coats.


Isn't she cute.  I plan on getting more of these little gems:)  Tell me which ones do you have? 


This picture was taken indoors under my Ott Light. 


This picture too, taken indoors under my Ott Light.  I love old hankies and found a matching color. They make me think of my Mother which use to carry them in her purse, now I do the samething :)  I found a bunch of them at a flea market.


This picture was taken outside in natural sunlight.  I love Break through it's an absolutely gorgeous polish.  Before I take it off I  probably will be layering it with a holographic..  Don't know which one yet, but stay tuned for the next upcoming post.  Until next time have a great nail polish day.   (*_*)  

Rainbows and pink petals

Hello ladies,

Today was absolutely lovely. The flowering trees blended a magnificent perfume upon the air. On the way to the community garden, I walked along a path laden with magnolia petals. I felt like I was in a magical faery procession.

I have an untried and true manicure with one of my favorite discontinued polishes from Sally Hansen: Purple Potion. Wearing this holographic polish made every sunbeam feel like a celebration with a prismatic array of color. Because I can rarely leave a polish alone, I added floral rhinestones from Essence.


I am wearing three coats of Purple Potion. I have found the colors from the Magical collection to apply well when approached with care. The brush is small. Each nail took about four strokes for even coverage. I caution you not to go over your strokes repeatedly with the brush. This will cause color to pull, leaving bare patches. I didn't find the application to be too difficult, especially for the payoff in color.

This shade is discontinued but is still available on ebay. I feel it's worth tracking down.

Happy painting, ladies!

Blog Archive